Showing posts with label gift. Show all posts

Saturday, December 26, 2015

Reclaimed Window Family Frame

Reclaimed Window - Family Frame


My brother has the most amazing family-in-law! They are so generous and welcoming and I am so lucky they treat me like family as well.

Unfortunately, about 7 months ago, their home was partially destroyed by smoke and was unlivable. They lost almost everything in the house, and had to tear the house apart and redo everything. 
I was able to take their family pictures last winter, and I thought it would be a heart-felt Christmas gift to make them some new home decor, and include all of their beautiful faces. Not that they need to be reminded, but this is a daily reminder that people you love are the most important things in life, not material items. 

I was able to get my hands on this beautiful old window, added a new coat of paint and distressed it.
I added some beautiful, and perfectly stated, DCWV Wall Transfers.


I loved this 'DCWV Life Is Sweet' transfer, so I put it front and center, as the main focus for the frame.

I printed out a few of my favorite pictures from the shoot, and secured them to some fiber board with ModPodge. I screwed some hooks into the frame and hung the images on them. This way, as the family grows, they can replace them with new pictures.

For the rest of the wording and the leafy decals, I used the DCWV Remember To Cherish, DCWV Winter Garden Peel & Stick Wall Accents, and the DCWV Swirly Branches Peel & Stick Wall Accents. They all coordinated so well!


 [ Some products used on this project were provided to me for review by DCWV, but all comments, ideas and images are my own ] 


Saturday, August 15, 2015

Wedding Card


One of my favorite new DCWV Stacks, is the Happy Day Stack. Every page is incredible. I love the wood prints, the gold accents and the tags and sayings.


It was perfect for a wedding card I needed to make!


I loved the page of cute little frames. So I cut a couple out, and crafted a tux and wedding dress in each of them. I used a black woven and a white glitter sheet from the Jet Black Stack for those.


Of course I had to add some fun Blue Moon Beads! I used a gold flower charm and a couple teardrop gold shimmer beads.
Threw on some large gold sequins and some gold rhinestones for some shine.


On the inside, I cut out a portion of this amazing doily page! Stamped 'congrats' on the side and messed it a bit with some inked edges. This piece is perfect, as I plan to write the sentiment in the large doily area.


I hope you enjoyed this project and are inspired to create your own!

[ Some products used on this project were provided to me for review by DCWV, but all comments, ideas and images are my own ]


Tuesday, March 17, 2015

DCWV DIY Family Frame

I love taking an old item and re-purposing it.
I had this nice frame out on my nightstand, but basically it was just collecting dust. My sister's birthday is coming up and I thought making her a custom frame would be a perfect gift.

First, take the frame apart. Grab a spray paint color you love.
Spray both sides, and of course let it dry. 


I pulled this page from one of the brand new DCWV Mini Album. I love how you can mix and match a bunch of DCWV products that just work perfectly together.
So, with this page, I played with some Tim Holtz Distress Inks and water.


While that dried, I grabbed a fun wood shape and smudged some Milled Lavender Distress Ink. Set aside to dry.


I took the mat out of the frame and covered with with this great DCWV Premium Paper Grey Dot Velum.


Once both sides of the frame were dry, I took this beautiful Grey DCWV Premium Paper cut out sheet and ModPodge'd it to the frame.
Yes, very time consuming, but worth it. Once I had it all secured and cut off the excess, I took a Clear Coat Spray and sprayed over the frame.


While that dried, I grabbed the wood piece. I added this Family word, a butterfly and of course - a Blue Moon Bead Flower Bead!


Now put the frame together.


 Now, the frame is finished and turned out amazing! 


Wednesday, December 31, 2014

Jewelry Starter Kit

As you may know, my biggest fan is my niece. She loves every piece of jewelry I make for her. Last Easter I sat down with her and we created some unique jewelry just for her. She seemed to love it, so as a Christmas gift I thought I would give her some beads and findings, and see what she creates on her own.

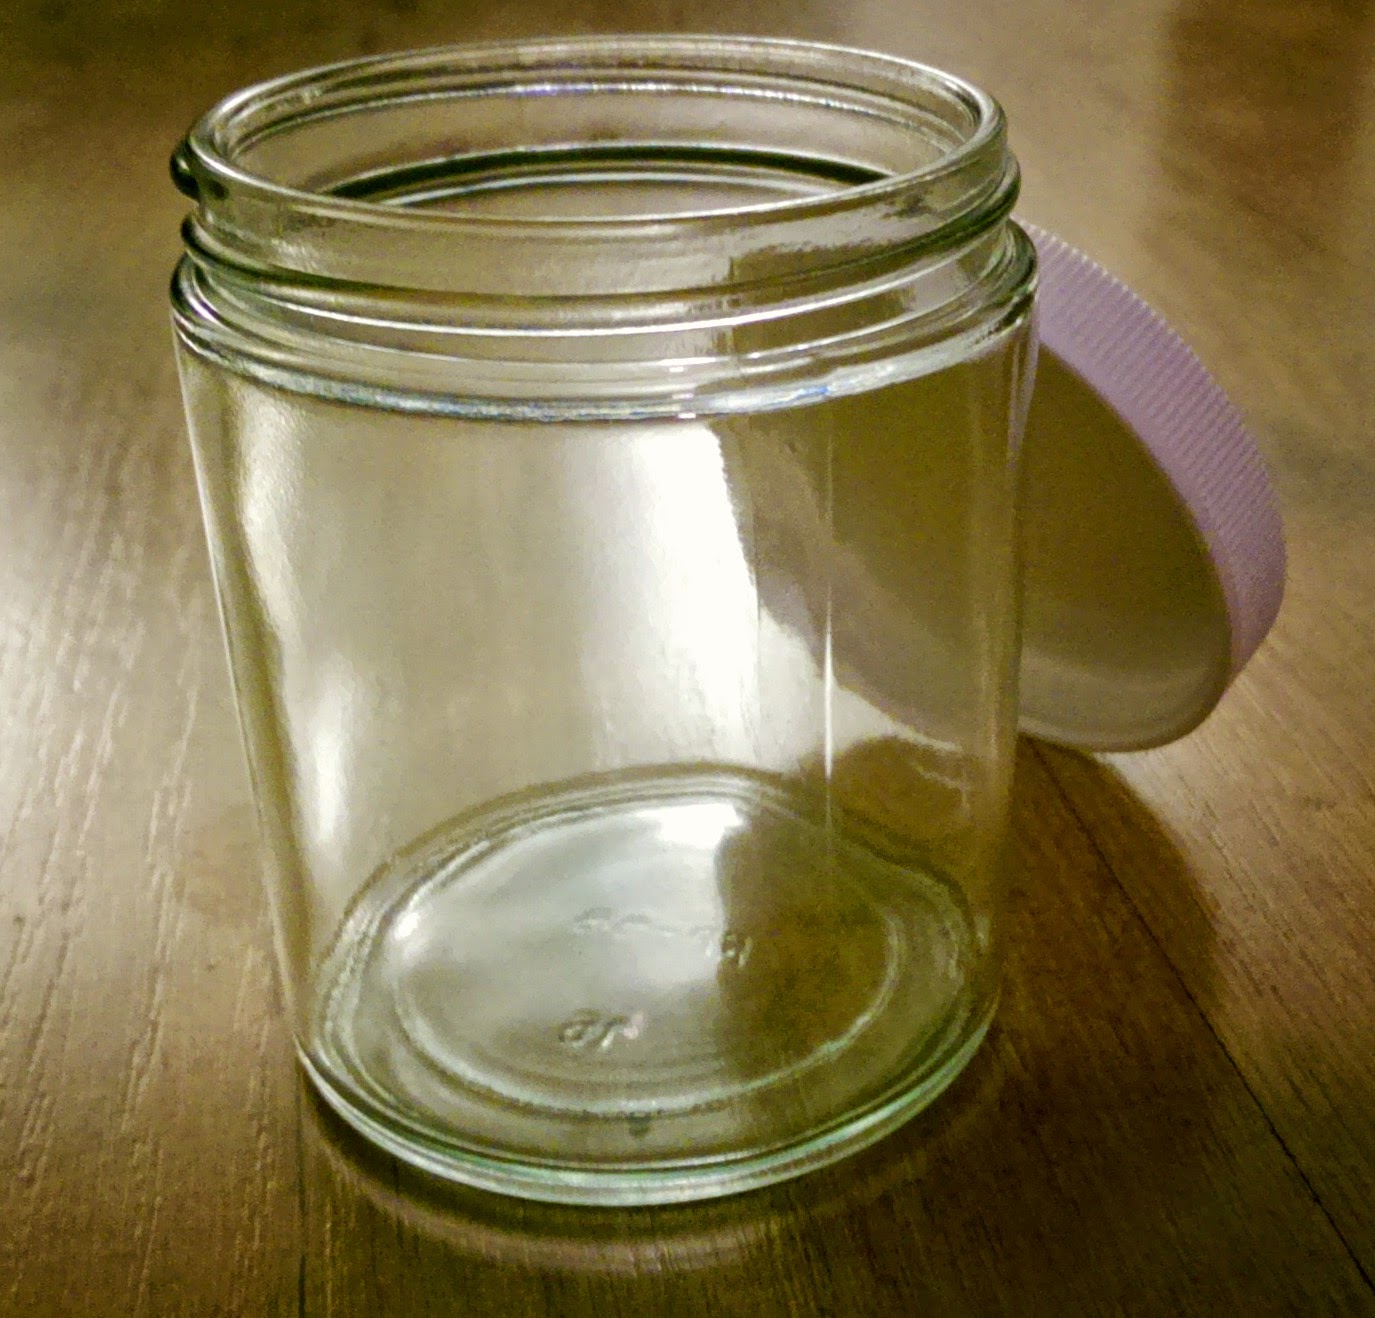
I started with this cute little jar.


She plays guitar, so this DCWV music paper from the DCWV Premium Paper Collection was perfect! I cut a flowing shape out of it, then spritzed it with water. I then took Tim Holtz Picked Raspberry Distress Ink and rubbed it along the edge. Holding it upright made it run with the water drops. I then took a wet cotton swab and added slight shades of Tim Holtz Peacock Feathers and Milled Lavender Distress Inks throughout the paper. I then sprayed Time Holtz Perfect Pearls Mists in Biscoti over the entire paper to give it a nice shimmer.

After that dried, I secured to the jar with ModPodge, and went on to add some DCWV Adhesive Jewels and Buttons. I found this cute purple Butterfly on the DCWV Premium Paper Collection, cut it out and inked the edges with Tim Holtz Milled Lavender Distress Ink, and glued it to the jar.


On the top of the jar lid, I cut out this amazing Black Sparkle DCWV Premium Paper and secured it with ModPodge. I cut a "J" out of the Adhesive Jewel Sheet, and then cut some flowers and leaves out of the Premium Paper Collection as well.


I filled this cute jar with beads and added it to her starter kit of elastic, cording and glue. I can't wait to see what she creates!

Thanks for stopping by!