Friday, March 18, 2016

Color,... Paint,... & just CREATE a Mother's Day Card

Hi everyone!! Ok, yes, I admit... I am a 'planner'.
I love to plan ahead, make lists and get everything in order WAY before it's actually time. I already created my Father's Day card for this year, so I decided next on my list should be my Mother's Day card.

All of my new Tombow and DCWV goodies were the perfect products to create this with.

I started with the DCWV Color & Create Birds & Butterflies Stack. I chose this fun flower and butterfly print and colored it with a Sharpie.


I then grabbed the paint from the DCWV Paint & Create Smile package and dropped a few paint splatters on the paper, and let dry.


I then water-colored this stripe card from the Paint & Create package.


I grabbed this handy Tombow MONO Removable Adhesive, and a heart shape I printed out. Instead of cutting the heart out, using it as a stencil to trace the shape on the page and then cutting again.....
I simply added a couple strips of adhesive, stuck it to the page....


And cut the shape out, through both papers! 


The adhesive peels right off! No mess, no tearing, no sticky residue.


The best part?....  You can use it again!
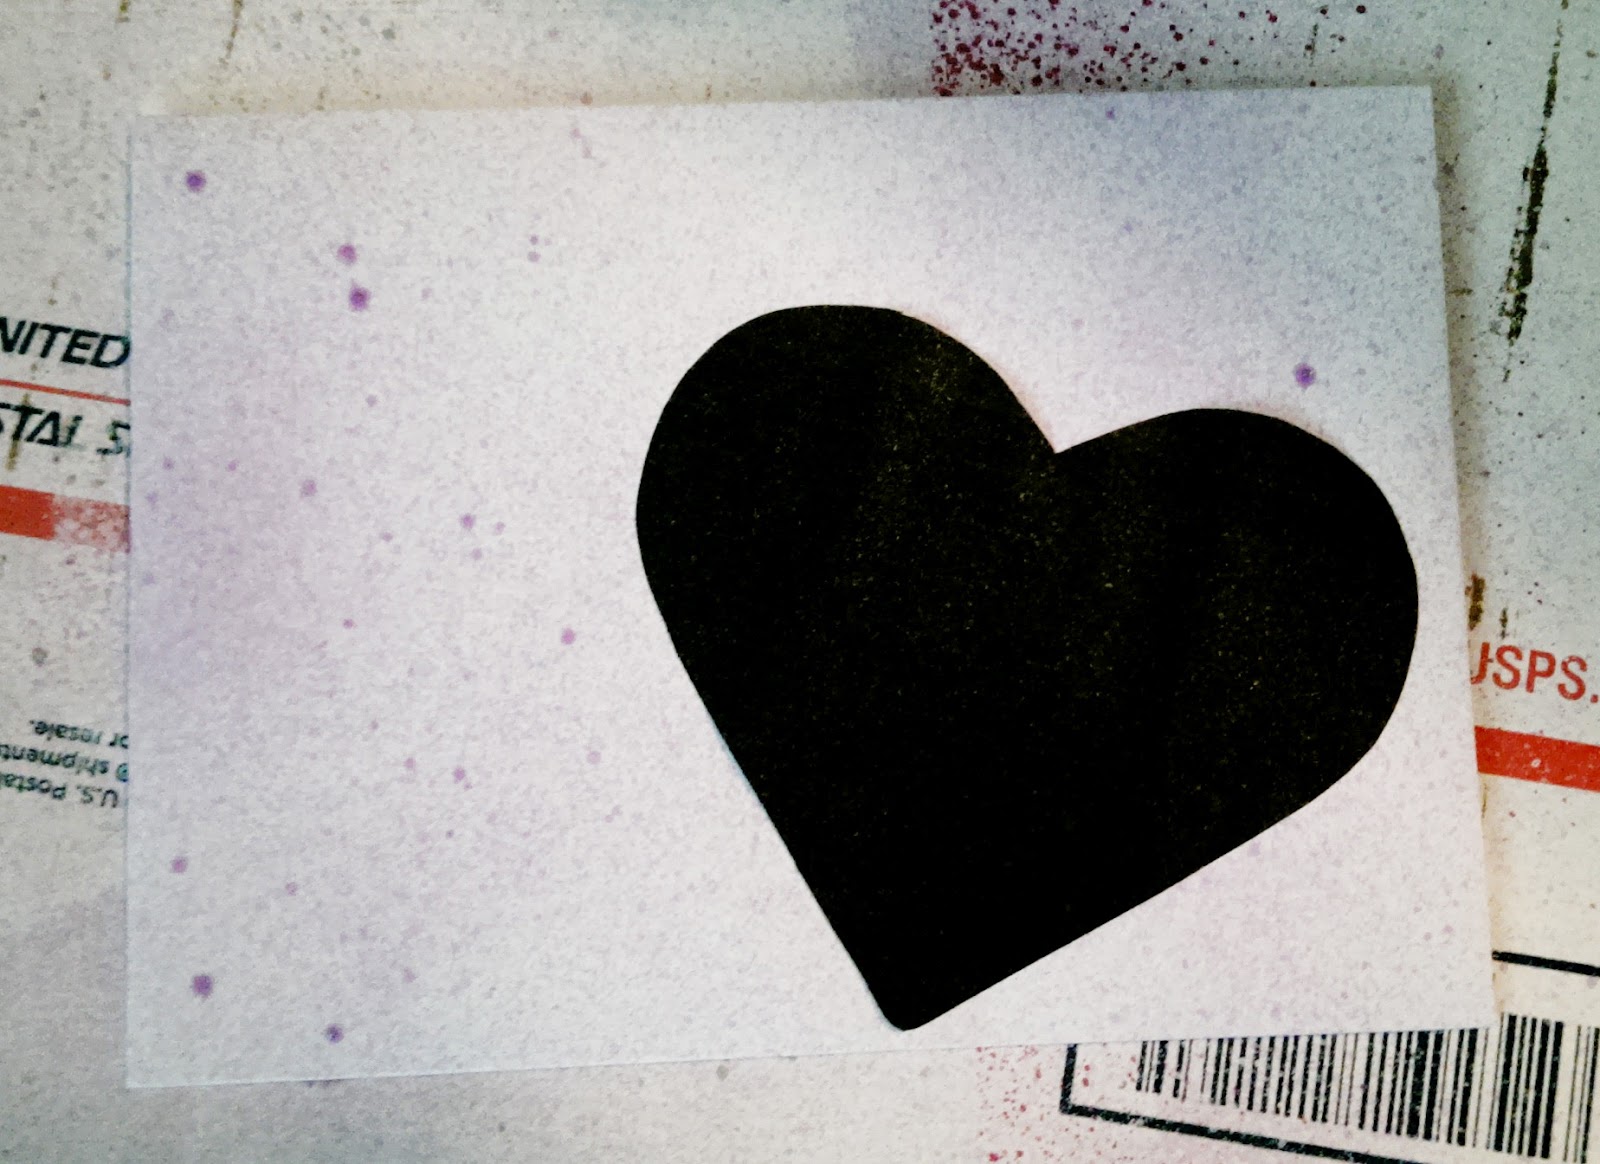
I stuck it on my envelope, sprayed with some paint spritz, and removed it again!


 I love the DCWV In Stitches 6x6 Stack. Full of 'stitched' designs on paper. (so you don't need to sew yourself)  The hearts matched my card perfectly. The row had 4 hearts, so I used 1 on the front, and 3 on the inside of the card. 


I used the DCWV Insta Photo Fun Pink Mini Stack for this cute pink and white stripe paper to write my note on.
I also added some bling to the front and the inside of the card with the DCWV Adhesive Jeweled Sheet


[ Some products used on this project were provided to me for review by Tombow and DCWV, but all comments, ideas and images are my own ]


Saturday, March 12, 2016

DCWV Color & Create


'Adult Coloring Books' are so hot right now!
DCWV took this trend one step further, and made these incredible Color & Create Stacks

They are giant, 65 sheet books full of incredible prints to color. The best part is that these prints are on thick cardstock, so you can tear them out and craft with them, frame them and display them.


You can use pens, markers, colored pencils and even paint on them!


[ Some products used on this project were provided to me for review by DCWV, but all comments, ideas and images are my own ]

This is the ultimate stress reliever!


Friday, March 11, 2016

Lil Monster is an Artist

My nephew is the cutest thing on this planet.
He knows the way to my heart. He models for me, has conversations with me, and I found out he loves to draw!

I created this Lil Monster Artist layout using the Bo Bunny Lil Monster I Want It All Bundle from FotoBella. He had drawn pictures of all of us, when we were on vacation. So I snuck a few from his notebook to craft a layout with them.

How cute is this!!


Thursday, March 10, 2016

HAPPY CAMPER LAYOUT - PRODUCT FEATURE!!


Are you ready for a product feature blog?

This is my Happy Camper Layout that I just completed for the FotoBella Design Team. This month I am working with the darling My Mind's Eye Happy Camper I Want It All Bundle.


 These Bundles are amazing because they come with everything you need! They are packed full of the specific design line from the brand, and come in a nice plastic case. You need to check them out, and you can only find them at FotoBella.

So for my layout, I loved the Home Is Where You Park It sheet. I painted the top of the page with blue Prima Marketing Oil Pastels.
The sheet was solid, and I wanted it to have a sky, since my image sort of looks up to the sky. 

I added the clouds using some Prima Marketing Heavy Gesso and a cloud stencil. Then I used an old brown ink pad and dirtied up the bottom of the sheet, for a 'ground' feel. Also added a couple pine tree stamps.

I recently was accepted to be a Brand Ambassador for Tombow. I received this new and incredible little beauty from Tombow this month..... The Stamp Runner!
I am completely in love with it, and it has changed the way I craft! I pretty much used double sided tape for all of my crafts. The problem with that, is once you stick it down, you do not try to move it. Your paper will rip.


The Stamp Runner puts down this awesome adhesive strip (see image above). And you can basically choose where you want it, as each of those tiny squares are separate. So.. long strip, short, half width, you choose! It also has a 'stamp' on the end. For small areas, you simply stamp the adhesive!


 [ Some products used on this project were provided to me for review by multiple companies, but all comments, ideas and images are my own ]


 With the Tombow Stamp Runner, I was able to hold the layers in place by putting a small strip of adhesive on them, and once I had them placed how I liked, I added more adhesive and secured them to the page.
The best part!? I ended up not liking the positioning of the image when my page was complete. I was able to carefully life it off the page, move it over and press it back to the paper. Nothing was ripped or damaged!

I think I need a life time supply of this cute little wonder! 


Sunday, March 6, 2016

Easter Banner


Do you decorate much for Easter?

I don't usually, but with all the new products I have received lately, I just had to!


Here is my Easter Banner. This was a fun project to create. All of the new DCWV Stacks are so incredible, I was able to pull prints from multiple stacks and they all meshed together perfectly. 

For the banner flags, I pulled a few from the new Kraft Paper Banner Stack.


Then, I cut smaller flags with this darling purple page from the Garden Charm Stack. I cut a variety of egg shapes from the Garden Charm Stack, Birds & Butterfly Stack and the Embossed White Stack.


I recently purchased the new We R Memory Keepers Alphabet Punch, and thought this was the perfect project to try it out on.


I loved this darling bright yellow sheet from the Birds & Butterflies Stack! The Alphabet Punch did not disappoint, the letters came out perfectly.
In order to add some dimension, I used a yellow Copic Marker and lined the edges.


I punched holes in the corners of the flags, and used some thick jute cord to hold them. I simply nailed 2 holes in the wall where I wanted to hang the banner, and tied the jute around the nail. Quick and easy!


[ Some products used on this project were provided to me for review by DCWV, but all comments, ideas and images are my own ]