Showing posts with label tutorial. Show all posts

Sunday, March 26, 2017

Party Like A Flamingo Card + Envelope

Exciting news!!
I was accepted to be an ADORNitGirl Ambassador!
If you haven't heard of ADORNit, you can check out their site here.

I received my first box of goodies a couple of days ago, and I couldn't wait another minute to start crafting.


For my first project, I wanted to do a full tutorial so you can see the products, and just how easy it is to make a coordinating card & envelope by hand.


Party Like A Flamingo Card + Envelope


For this set, I used parts of these 5 sheets of paper and washi tape.


With my We R Memory Keepers envelope punch board, I made an envelope that will finish off at 4" x 6".


A few punches, scoring, folding and gluing ... We now have a darling pink polka dot envelope!


I chose the black sheet for the card, cut it 8" x 6", so it would fold down to a 4" x 6" card.

  I added a couple stripes of washi tape to the bottom of the card front, and cut a banner from the pink dot paper.


I cut this You Are Fabulous wording out of the sheet and layered in on top.


For the inside of the card, I cut this journal card out, glued it to the pink dot paper, and then layered that on top of a strip of washi tape.


The focal point of this set, is this saying! I love it!
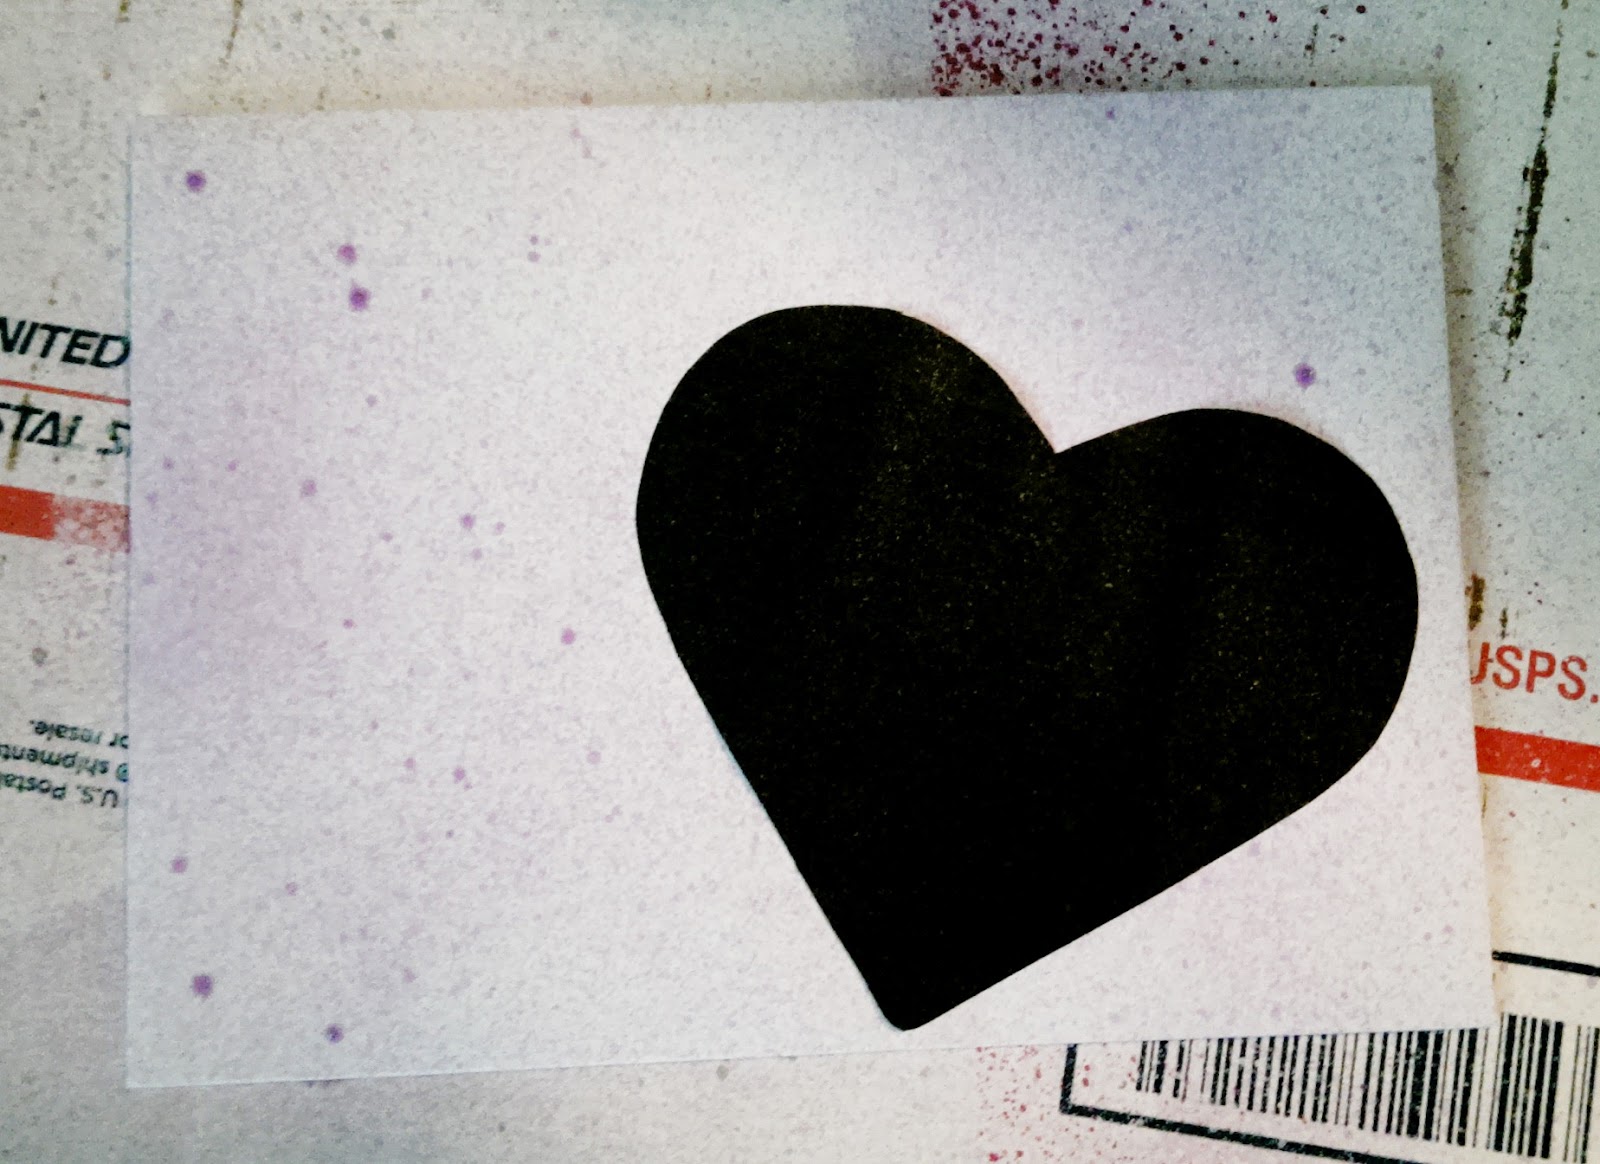
I splattered some hot pink watercolor on it, and set aside to dry.


Once dry, I cut it down and layered it on the black paper.


Fussy cut a few of the cute flamingos, and attached everything to the front of the envelope.


Only a few minutes later, you have a handmade, one of a kind Card + Envelope!


[ Some products used on this project were provided to me for review by ADORNit, but all comments, ideas and images are my own ]


I hope you enjoyed this tutorial, thanks for stopping by!


Friday, March 18, 2016

Color,... Paint,... & just CREATE a Mother's Day Card

Hi everyone!! Ok, yes, I admit... I am a 'planner'.
I love to plan ahead, make lists and get everything in order WAY before it's actually time. I already created my Father's Day card for this year, so I decided next on my list should be my Mother's Day card.

All of my new Tombow and DCWV goodies were the perfect products to create this with.

I started with the DCWV Color & Create Birds & Butterflies Stack. I chose this fun flower and butterfly print and colored it with a Sharpie.


I then grabbed the paint from the DCWV Paint & Create Smile package and dropped a few paint splatters on the paper, and let dry.


I then water-colored this stripe card from the Paint & Create package.


I grabbed this handy Tombow MONO Removable Adhesive, and a heart shape I printed out. Instead of cutting the heart out, using it as a stencil to trace the shape on the page and then cutting again.....
I simply added a couple strips of adhesive, stuck it to the page....


And cut the shape out, through both papers! 


The adhesive peels right off! No mess, no tearing, no sticky residue.


The best part?....  You can use it again!
I stuck it on my envelope, sprayed with some paint spritz, and removed it again!


 I love the DCWV In Stitches 6x6 Stack. Full of 'stitched' designs on paper. (so you don't need to sew yourself)  The hearts matched my card perfectly. The row had 4 hearts, so I used 1 on the front, and 3 on the inside of the card. 


I used the DCWV Insta Photo Fun Pink Mini Stack for this cute pink and white stripe paper to write my note on.
I also added some bling to the front and the inside of the card with the DCWV Adhesive Jeweled Sheet


[ Some products used on this project were provided to me for review by Tombow and DCWV, but all comments, ideas and images are my own ]


Friday, February 19, 2016

Fish Layout

Fish Layout

Starring:
Tayvin and his 2 'glow in black light' neon fish

Supported by:
DCWV products, and a bunch of fun techniques!


Want to recreate this layout with your favorite images?
Grab the following supplies:

White Cardstock
Gel Medium
Pallet Knife
Stencil
Wax Paper
Distress Inks
Chipboard Letters
Bakers Twine
Transparent Bubble Dots
Double Sided Tape
Spray Bottle with Water


Find this incredible blue sheet from The Birthday Wishes Stack.
Tint some gel medium with the Light Blue Folk Art Paint.
Use a pallet knife to randomly spread the gel medium over your stencil of choice, onto the paper. Make sure it's in areas that will be visible after you layer your images on.


Pull some distress inks, in colors of your choosing.


On a sheet of wax paper, apply some distress ink in a pattern you like.
Spritz the ink with water.


Flip the wax paper over, quickly and carefully, onto a page of white cardstock. You can use your finger to smear the color around if needed. Take the wax paper off carefully, and throw away. Be careful not to let the ink drip.
While the page is wet, carefully tear out a circle shape.
Set aside to dry


Find this dot page in the DIY Birthday Stack from DCWV. Turn it over and draw a circle. With your finger and some water, trace the circle continually, until the paper is saturated.
Carefully tear the circle.


Your circle does not have to be perfectly round.


Print out 5 images. Both square and rectangle shapes and various sizes.
Mat them with a green sheet from the DIY Birthday Stack, using double sided tape.
In the DIY Banner stack, you will find some pre-printed mini banner flags. Cut out as many as you need. Punch some holes in the corners and string some Bakers Twine through them. Add your chipboard letters.

Start to secure the water color and dot paper to the layout. Add the images and make sure they are secured.
Using double sided tape, secure the banner in the lower right area of the layout. Then stick some cute transparent bubble stickers in the top left corner.


Here is the finished layout!


I would love to see your interpretation of this layout! You can post your images to my Jeri Vann Creations Facebook page, or tag me in your photo on Instagram!


[ Some products used on this project were provided to me for review by DCWV, but all comments, ideas and images are my own ]


Thursday, November 12, 2015

DCWV - Metallic Gold Tree - Cork Advent Calendar


Everyone loves to countdown to Christmas.
Make it easy on yourself, and fun for everyone with an Advent Calendar.


I made this fun little tree from a few cuts of wood, metallic gold spray paint and a bunch of nails.


For the numbers I used the DCWV Natural Cork Stack, a circle punch and some white paint. Each circle is hand painted with a number, and then hole punched at the top. They are simply hung off of nails.


I crafted a bunch of cute little gifts to sit under my tree, but you can put real gifts if you'd like! These darling DCWV Boxes all come in one nifty package. A large variety of sizes for all of your little gifts. And we all know the best gifts come in the smallest packages!!

I wrapped them with some fun DCWV papers.


Another fun wrapping idea is to use a standard circle hole punch and DCWV Metallic Cardstock. Punch a bunch of circles and randomly stick them on the box with GlueDots! Perfect polka dots!


 [ Some products used on this project were provided to me for review by DCWV, but all comments, ideas and images are my own ]