Showing posts with label Paper Crafts. Show all posts

Saturday, March 25, 2017

Birthday Gift + Gift Box - Product Mash Up

Hi everyone!

I needed to create a gift box for the upcoming 16th birthday of my niece. And what better way to celebrate, then pairing up some of my favorite brands and favorite products to craft the perfect, one of a kind gift box.

...and yes, I said sixteen!!!
I cannot believe it!

As one of the most important people in my life, I have handmade her everything she has ever asked for, not asked for, and even merely said she liked. She loves getting handmade 'everything' from her favorite designer aunt, so I can't help but spoil her.

So this birthday is special, she is working so hard towards getting her drivers license. What better gift then a customized key chain for those truck keys!


Blue Moon Beads Made Me line has this key ring combo, and you simply add some of their monogram stickers. I also attached a Wish charm from the Blue Moon Beads Mantra Me line, and then finished off with a pink leather tassel I had on hand.
Leaving enough space for her to add any other special charms she wants to carry with her daily.


Next gift is a necklace, made with the Blue Moon Beads Mantra Me line. The Chain comes designed like this, I simply added this tassel and Enjoy The Journey Ring.


For the final jewelry gift, I made her a silver bangle bracelet. Again, from the Blue Moon Beads Mantra Me line. I made it simple by just attaching the Have Courage plaque.
Making each piece with meaning and encouragement, as she has such a bright future ahead of her.


 Now, onto the packaging!

With a DCWV Gift Box, some Mod Podge and your favorite printed papers, you can create a fully custom box!
I used this beautiful sheet from the DCWV Neon Daydream stack.


Tied the box close with some textured May Arts Ribbon.
I easily made some tags with the Fiskars Tag Punch. Added this cute metallic gold American Crafts Diamond rub-on to the tag. Layered the paper tag with a round Hampton Arts Wood Tag, which I made pink with a few dabs of the Tim Holtz Picked Raspberry Distress Ink, and added some Tim Holtz Liquid Pearls Gold dots to.


My favorite part??
I simply drew a 'j' on black paper, traced the cut area, added the bubble cap and cut! Then, used Loctite to secure it inside the charm, and you have a personalized charm! So easy!


And there it is...
a finished, one of a kind, custom box for a soon-to-be sixteen year old!!


If you made it all the way to the end of this long blog, THANK YOU!!
I hope I have inspired you to create something today! 


Monday, July 11, 2016

DCWV Personalized Gift Wrap


Hi everyone!!


I am a huge fan of personalizing gift wrap for all of my gifts throughout the year. 
Here is a customized gift bag and box for my niece's birthday gift.


For the paper flower on this box, I used the DCWV Watercolor Stack, and the stencil from the DCWV Paper Plants DIY Stack.


For this gift bag, I used a pink gift bag I had on hand, but added this large pennant, cut from the DCWV Watercolor Stack.


I cut the tag from the DCWV Paint & Create Guilded Geo Kit, and added some watercolor paints. I cut a tag from the Watercolor stack as well and placed it behind.


Monday, June 6, 2016

Colt Layout - Featuring Epiphany Crafts!

 I am more than excited to announce that I have been accepted to be on the Epiphany Crafts Design Team!!

If you aren't familiar with their products, you need to be! Have ever bought epoxy dots, brads or stickers? Well, with the Epiphany Crafts Tools, you can easily make your own epoxy designs! You can make them in a variety of shapes, and use any print, so they match any of your projects!


Here is my latest layout, featuring my brother and his darling baby boy, Colt. I used the Epiphany Pennant Tool to make this perfect 'Proud' Pennant for my layout.


I was also able to make these coordinating wood print pennants to match the layout theme. Not only can you make any print you want, they are so quick any easy to make!


[ Some products used on this project were provided to me for review by Epiphany Crafts, but all comments, ideas and images are my own ]


Sunday, May 22, 2016

DCWV Watercolor Smile Card


DCWV EMBOSSED SMILE CARD TUTORIAL


SUPPLY LIST

DCWV Two-Tone Solid Cardstock
Tim Holtz Distress Ink in Dried Marigold, Ripe Persimmon and Seedless Preserves
Ink Blender Tool
Flower Embellishment
Chipboard Letters
Ruler
Scissors or Paper Cutter
Glue or Double Sided Tape and Hot Glue
Spray Bottle and Paper Towel


Grab your DCWV Embossed White Stack and find this floral sheet. Using Tim Holtz Distress Inks in Dried Marigold, Ripe Persimmon and Seedless Preserves, blend theses colors around a 7” x 8” area. 


Spritz some water on the paper and let sit for a few seconds, then blot with a paper towel. Repeat this again. 


With your blender tool, and the same distress inks, lightly add more color to the sheet. Make sure you do this lightly so the color only transfers to the raised design on the paper. This will give a little more definition and make the print more visible.
Set this aside to dry.


Find a solid color cardstock that coordinates with your inks. I chose a 2 tone cardstock from DCWV. The other side of this paper is a different shade.
Cut a 7” x 10” piece, and fold it in half.


On the front of the card, measure in 1/8” on the 3 sides. Using scissors or a paper cutter, cut off those 1/8” strips. 


If done correctly, once you fold the card, you will see the second color shade from the other side of the paper. This will give a border effect to the card. 


Cut a piece from your embossed floral sheet. The dimensions will vary, depending on the cut of your card base. I measured my piece so it will be constantly 1/8” smaller on all sides. 
Secure this piece to the card using glue or double sided tape. 


Grab some chipboard letters. I had these darling DCWV Polka Dot letters in my craft stash, but they were silver in color. I wanted them gold, so I grabbed my metallic gold spray paint and sprayed them. If you paint your chipboard, make sure they are completely dry before handling them.
Once you are ready, secure them to the card, centered horizontally. I used a ruler to make sure I applied them straight. 


Since the embossed paper I used was a floral print, I wanted to add some flowers to the card.
I dabbed this white flower on the distress ink pads to get a little coordinating color on them. I then hot glued them to the bottom right corner of the card. 


Now you have your finished card!


Tuesday, April 12, 2016

Copper Celebrate Card

I love metal.
So, of course I fell in love with the new DCWV Classy Copper Stack!


This paper stack has just the right amount of copper pages, prints and fun tag cut outs, you don't really need any other paper to craft a darling card!


I made this birthday card with just a few of the amazing pages from this stack, and for a bit of color I just added some paint to the floral metallic page and used as the card base.


Inside I cut out a tag and some fun copper metal shapes.

[ Some products used on this project were provided to me for review by DCWV, but all comments, ideas and images are my own ]


Friday, March 18, 2016

Color,... Paint,... & just CREATE a Mother's Day Card

Hi everyone!! Ok, yes, I admit... I am a 'planner'.
I love to plan ahead, make lists and get everything in order WAY before it's actually time. I already created my Father's Day card for this year, so I decided next on my list should be my Mother's Day card.

All of my new Tombow and DCWV goodies were the perfect products to create this with.

I started with the DCWV Color & Create Birds & Butterflies Stack. I chose this fun flower and butterfly print and colored it with a Sharpie.


I then grabbed the paint from the DCWV Paint & Create Smile package and dropped a few paint splatters on the paper, and let dry.


I then water-colored this stripe card from the Paint & Create package.


I grabbed this handy Tombow MONO Removable Adhesive, and a heart shape I printed out. Instead of cutting the heart out, using it as a stencil to trace the shape on the page and then cutting again.....
I simply added a couple strips of adhesive, stuck it to the page....


And cut the shape out, through both papers! 


The adhesive peels right off! No mess, no tearing, no sticky residue.


The best part?....  You can use it again!
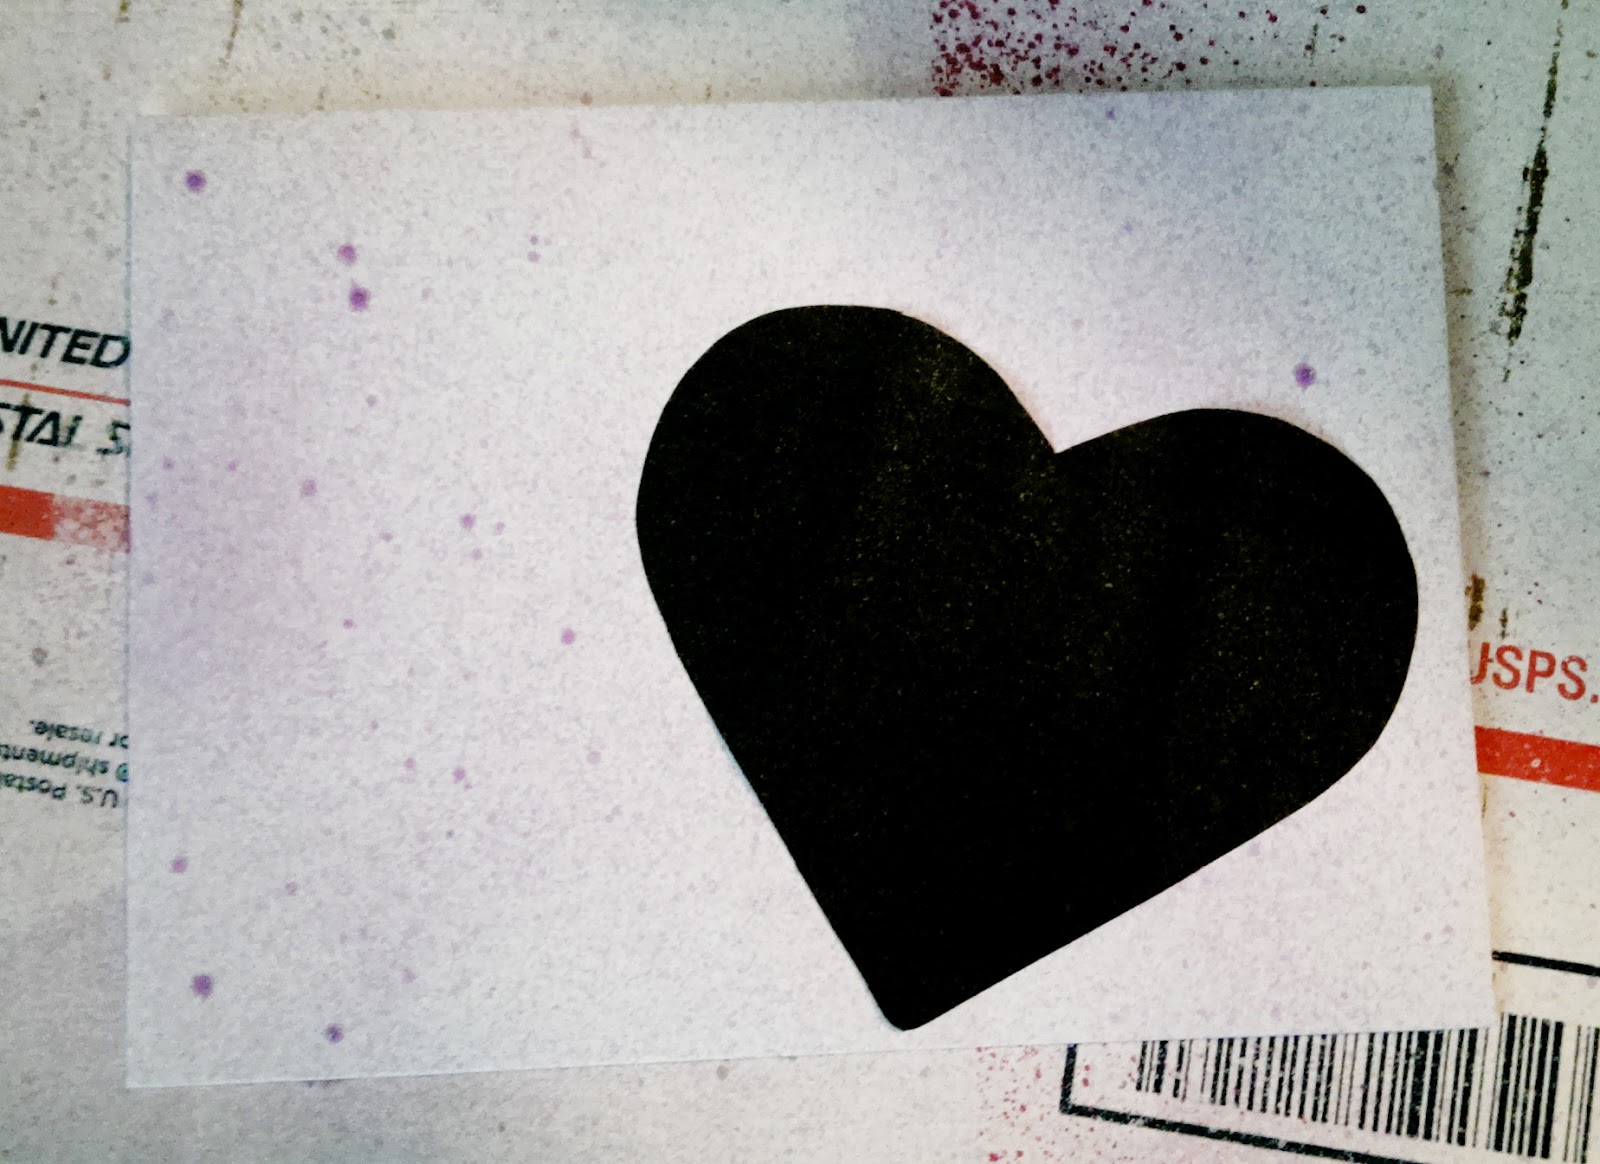
I stuck it on my envelope, sprayed with some paint spritz, and removed it again!


 I love the DCWV In Stitches 6x6 Stack. Full of 'stitched' designs on paper. (so you don't need to sew yourself)  The hearts matched my card perfectly. The row had 4 hearts, so I used 1 on the front, and 3 on the inside of the card. 


I used the DCWV Insta Photo Fun Pink Mini Stack for this cute pink and white stripe paper to write my note on.
I also added some bling to the front and the inside of the card with the DCWV Adhesive Jeweled Sheet. 


[ Some products used on this project were provided to me for review by Tombow and DCWV, but all comments, ideas and images are my own ]