Showing posts with label modpodge. Show all posts

Thursday, April 7, 2016

Fresh California Seashell Jars

My favorite creations are those I give to the people I love, and have a meaning behind them.

I made these Seashell Jars for my niece.
My mom is bringing her out to California to hang out with me for Spring Break.
I had asked her what she wanted to do while she was out here, and it can be anything she wanted. She told me all she wanted to do was hang out, go to the beach and collect more seashells. She said she still had the ones from her 10th birthday trip here in 2011, but they didn't smell like the ocean anymore.


So I thought I would make her some jars, that sealed closed, so they could keep the ocean smell in. I made her one jar for her 2011 shells and a 2016 shell jar.


I found these darling jars at Hobby Lobby. I hand tied some jute cording to look like fishing net. I added some FotoBella Anchor Charms, some seashells I had kept from her 2011 trip, and even a picture of us from 2011 in a ModPodge Metal Charm. I used the Bo Bunny Alphabet Stamp set to stamp the location and year on some DCWV Ocean Breeze Stack cut outs.  


On the lids, I used GlueFast Acrylic Coating and layered it on thick! I covered the glue with some real SoCal beach sand and then stuck some real seashells in. I covered some of the shells with glitter, I added some Blue Moon Beads for shine, as well as some Santoro London Wood Shapes colored with my Chameleon Pens

** She loved them!! We were able to gather shells at the beach, and she filled the jar full! I couldn't be more happy!


Friday, August 14, 2015

Music Is Life Accessory Hanger

Hello everyone.

I fell in love with the Project Paper sent to me by DCWV! I love how thick and durable it is, and they offer a great amount of paper on each roll. The paper is offered in so many fun prints, and one of the prints sent to me was Music Notes

My niece is very into music and is learning to play the guitar. She is still loving Zebra black and white print with neon pink accents. So I decided to combine her love of music, with her favorite colors with this project. But I wanted to make her something a bit more sophisticated since she just turned 14. I decided to create an accessory hanger for her. I make her jewelry for every Birthday, Christmas or whenever she asks, so I made sure there were enough nails on this board to hold all of her jewelry.


The Project Paper adhered quickly and perfectly to the painted wood board with some Matte Paper Mod Podge.


I made some paper flowers out of some bright, amazing sheets from the Jet Black Stack and the Ocean Breeze Stack. I added BMB Rhinestone Skulls, Neon Pink Beads and an adorable Metal Bow Bead.

The variety of Blue Moon Beads I had on hand, coordinated with my project perfectly!


I secured a BMB Rhinestone on the head of each nail hanger. Adds the perfect amount of sparkle! 


I used some DCWV Chipboard Letters to add 'Music Is Life' to the board.
I used the polka dot stencil from the DCWV DIY Stencil Project Stack with some  Tim Holtz Distress Inks to add some color and detail. I also used a heart stencil around the board.


If you want to get your hands on some of this incredible Project Paper, or any other amazing new DCWV products, head over to Joann's!

[ Some products used on this project were provided to me for review by DCWV, but all comments, ideas and images are my own ]


Tuesday, March 17, 2015

DCWV DIY Family Frame

I love taking an old item and re-purposing it.
I had this nice frame out on my nightstand, but basically it was just collecting dust. My sister's birthday is coming up and I thought making her a custom frame would be a perfect gift.

First, take the frame apart. Grab a spray paint color you love.
Spray both sides, and of course let it dry. 


I pulled this page from one of the brand new DCWV Mini Album. I love how you can mix and match a bunch of DCWV products that just work perfectly together.
So, with this page, I played with some Tim Holtz Distress Inks and water.


While that dried, I grabbed a fun wood shape and smudged some Milled Lavender Distress Ink. Set aside to dry.


I took the mat out of the frame and covered with with this great DCWV Premium Paper Grey Dot Velum.


Once both sides of the frame were dry, I took this beautiful Grey DCWV Premium Paper cut out sheet and ModPodge'd it to the frame.
Yes, very time consuming, but worth it. Once I had it all secured and cut off the excess, I took a Clear Coat Spray and sprayed over the frame.


While that dried, I grabbed the wood piece. I added this Family word, a butterfly and of course - a Blue Moon Bead Flower Bead!


Now put the frame together.


 Now, the frame is finished and turned out amazing! 


Sunday, March 8, 2015

DCWV Cork Gift Tags

Spring is here! Well at least where I live.
The beautiful weather this weekend inspired me to create with some bright Spring colors.

My Cork Gift Tags are perfect for any gift, Spring is filled with Weddings, Baby Showers and outside Birthday Parties.


I used the DCWV Cork Stack, and some round thin wood pieces. ModPodge'd them together and painted the edges with some bright Folk Art Paint


I cut tags out of the DCWV Corrugated Cards. I had a few mini tassels on hand, so I thought they would be a perfect addition. On each tag I added a Blue Moon Bead charm or bead.


Wednesday, December 31, 2014

Jewelry Starter Kit

As you may know, my biggest fan is my niece. She loves every piece of jewelry I make for her. Last Easter I sat down with her and we created some unique jewelry just for her. She seemed to love it, so as a Christmas gift I thought I would give her some beads and findings, and see what she creates on her own.

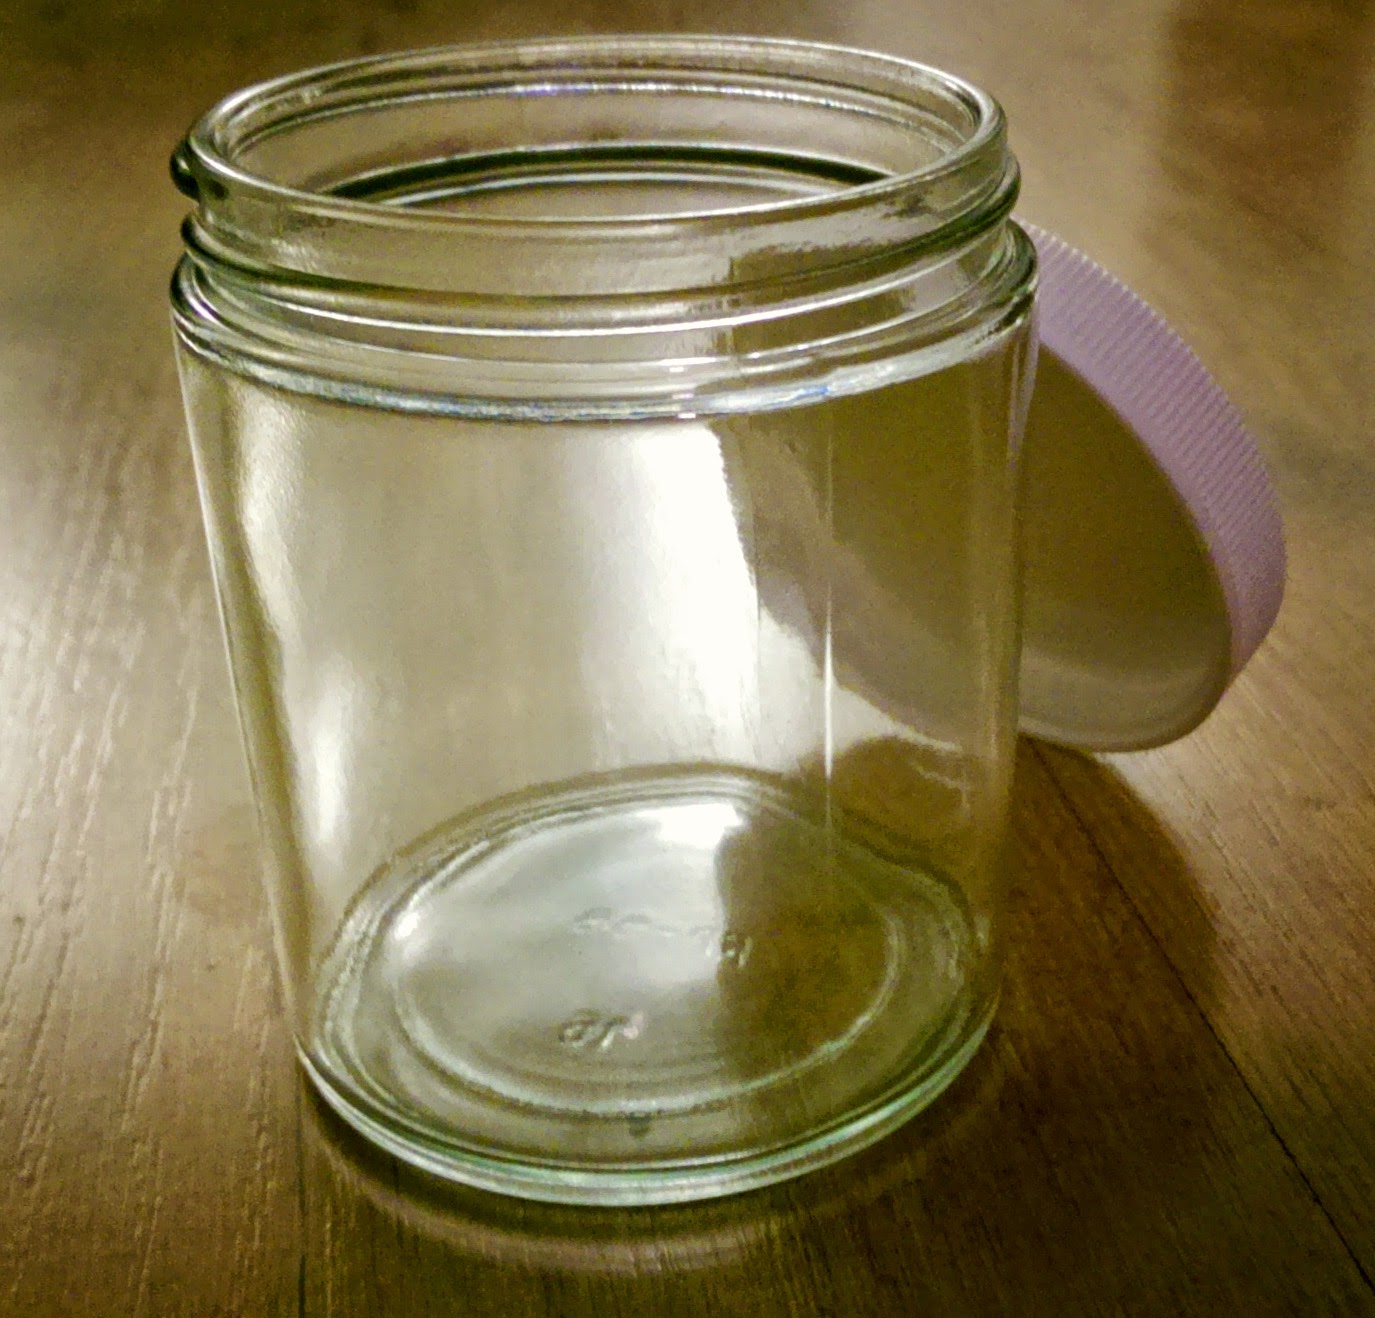
I started with this cute little jar.


She plays guitar, so this DCWV music paper from the DCWV Premium Paper Collection was perfect! I cut a flowing shape out of it, then spritzed it with water. I then took Tim Holtz Picked Raspberry Distress Ink and rubbed it along the edge. Holding it upright made it run with the water drops. I then took a wet cotton swab and added slight shades of Tim Holtz Peacock Feathers and Milled Lavender Distress Inks throughout the paper. I then sprayed Time Holtz Perfect Pearls Mists in Biscoti over the entire paper to give it a nice shimmer.

After that dried, I secured to the jar with ModPodge, and went on to add some DCWV Adhesive Jewels and Buttons. I found this cute purple Butterfly on the DCWV Premium Paper Collection, cut it out and inked the edges with Tim Holtz Milled Lavender Distress Ink, and glued it to the jar.


On the top of the jar lid, I cut out this amazing Black Sparkle DCWV Premium Paper and secured it with ModPodge. I cut a "J" out of the Adhesive Jewel Sheet, and then cut some flowers and leaves out of the Premium Paper Collection as well.


I filled this cute jar with beads and added it to her starter kit of elastic, cording and glue. I can't wait to see what she creates!

Thanks for stopping by!


Tuesday, December 9, 2014

RePurposed Holiday Gift Box

Happy Holidays!!

The countdown to Christmas is in full swing.. with only a few days left!

What is more meaningful then the gift itself? Well the thought of course!! But next up... the packaging. Everyone loves a custom, handmade package to show just how much thought was put into the art of giving.
Grab your DCWV Holiday Glitzy Glitter Stack and Winter In the Woods Stack. Find a brown ink pad, some ModPodge, scissors and a random box that might be just the right size.

I chose this GoPro box. I loved the size and the little insert.
Start measuring, cutting, ModPodge-ing..


Pretty soon you will have the perfect custom gift box to hold your thoughtful Holiday Gift!